Before moving to China, I would have never known that I could make my own yogurt. How did I miss this? Of course, here in China milk is much more expensive to buy than it is back at home (in the US). For many of you, this will be a great money-saver! I am not happy with the "runny" yogurt options available here in China, and I wasn't having much luck finding yogurt without added sugar.
So then I found THIS great tutorial by The Frugal Girl

My directions are NO DIFFERENT. I'm only sharing my version because I found it difficult to sort through all of the text to understand the process. Once I got it down, it really is a no-brainer! What can I say... I'm very visual!! So here is my attempt to make it super simple for those of you more like me! PLEASE refer to The Frugal Girl post if you want more details I'm not sharing here.
I've made this now 4 times, and I have had awesome results EVERY time!
Supplies
- 1 gallon of milk (less fat, less thick your yogurt will be)
- 1 cup of good quality, plain yogurt, unopened
- Air-tight containers (I'm using recycled jars and Tupperware)
- Large, thick-bottomed sauce pan
- Whisk
- Thermometer
- Cooler
- Measuring pitcher (to help you pour into jars)
Directions

1. Make sure your jars or containers are clean and well sterilized. You will end up with 4 quarts of yogurt (a gallon), so 4 1-quart jars would work perfect.

2. Pour milk into a thick-bottomed sauce pan. Heat over medium-high heat, while occasionally stirring with a whisk, until you reach 185F-190F (85C-90C). As you can see, a meat thermometer works just fine. I used a paperclip to hold it on the side of the pan. ;)

3. Once at temperature, transfer to a sink with cool water. Allow the temperature of the milk to drop down to 120F (50C).

4. At 120F (50C), whisk in 1 cup of good-quality yogurt until well blended. I save a small jar of yogurt from each batch I make to use for this purpose. If this is your first time, you can use a store-bought yogurt.

5. Transfer some of your yogurt to a pitcher to make it easier to pour into your jars. I do this in the sink to avoid making a huge mess!

6. Fill your jars or containers. See those two jars I've set to the side? They still smelled of spaghetti sauce... ack! I don't think spaghetti-flavored yogurt would be too popular in our house! And please.. disregard the mess of milk in the photo. I over-filled my pitcher making it difficult to pour without the mess.

7. Skim the milk froth/bubbles off of the top of each jar/container...

... and your jars will end up looking like this! Now add the tops and tightly seal.
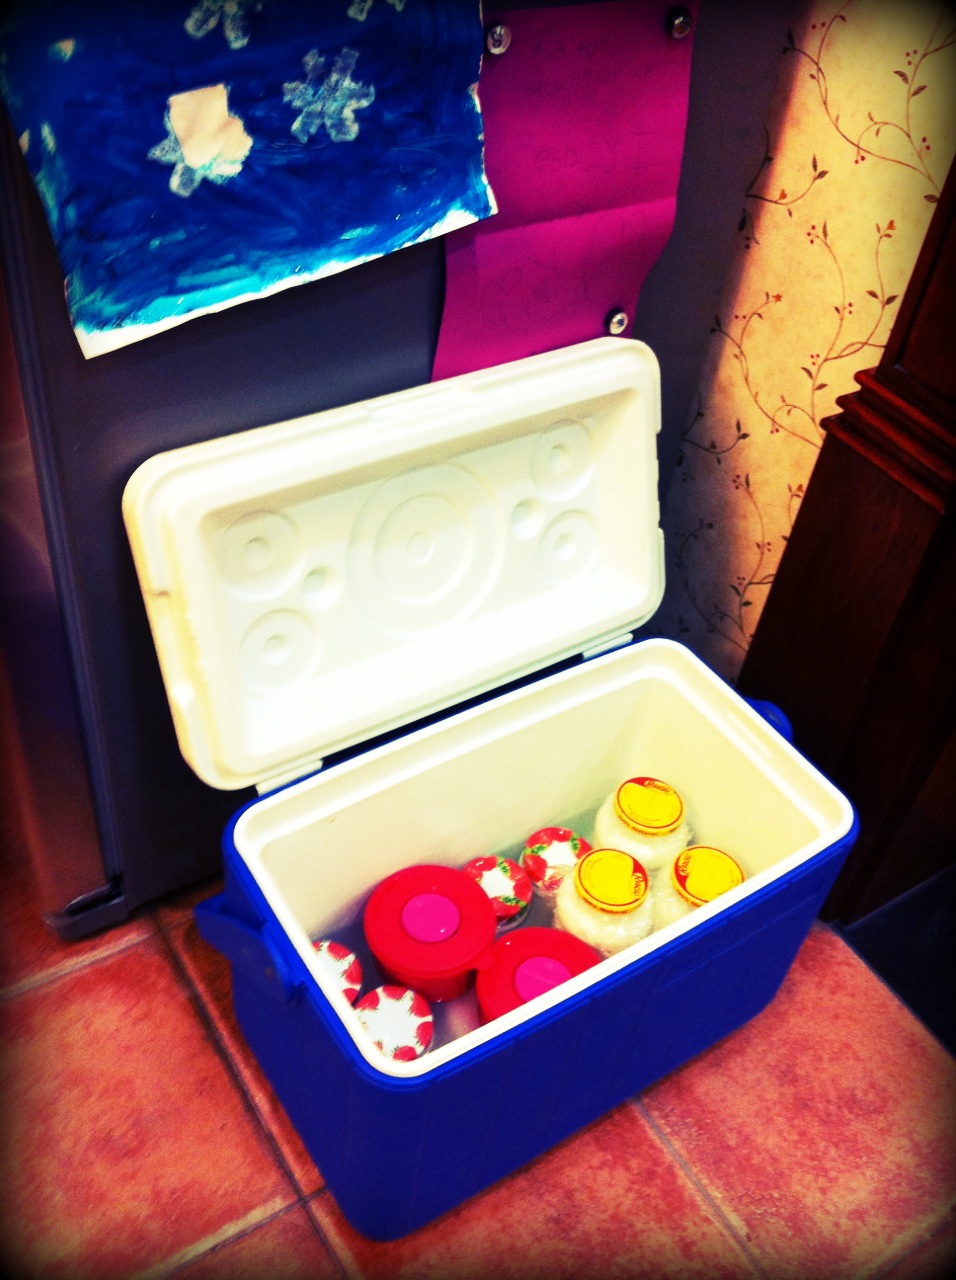
8. Transfer all of your jars/containers to a cooler that you have filled with a gallon or so of hot water.The Frugal Girl's directions say 120F, but I just use the hottest water I can get from my sink. I figure that has to be pretty close since it is too hot to put your hands in! Make sure your cooler is in a warm place in your home, away from cool drafts.

The water only looks murky because some of my jars were sitting in milk. You may also notice I covered the jars with some plastic wrap before adding the lid... just in case the lids were smelling a little spaghetti saucy! Because I didn't trust my Tupperware containers would be safe in the water, I was sure to stick something underneath them so they were not submerged.
9. Close the cooler and leave your yogurt there for 3 hours.

10. After 3 hours in the cooler your yogurt will begin to set, but will still be a bit runny. At this point, transfer it to the fridge. After a few hours your yogurt will be ready to go!

11. Remember I mentioned saving a small jar of yogurt to use as the "starter" for my next batch? I make sure to mark it and tuck it in the back of the fridge.

Delicious!!!
The Frugal Girl offers some instructions for making vanilla yogurt on her post, if you are interested in trying that as well.
Now.... Want to know what I'm doing with my yogurt?? I'll have another post to share soon with those details!
Happy Yogurt Making!!!
